# Seamless textures
In case you don't have textures for each board, but you have just a wood texture - you don't have to cut out each board out of it manually. [Floor Generator](https://blendermarket.com/products/floor-generator) will do it automatically.
You can apply any PBR material you have to your flooring (preferably a material with seamless texture) and just change Mapping vector input to the specific **Attribute**.
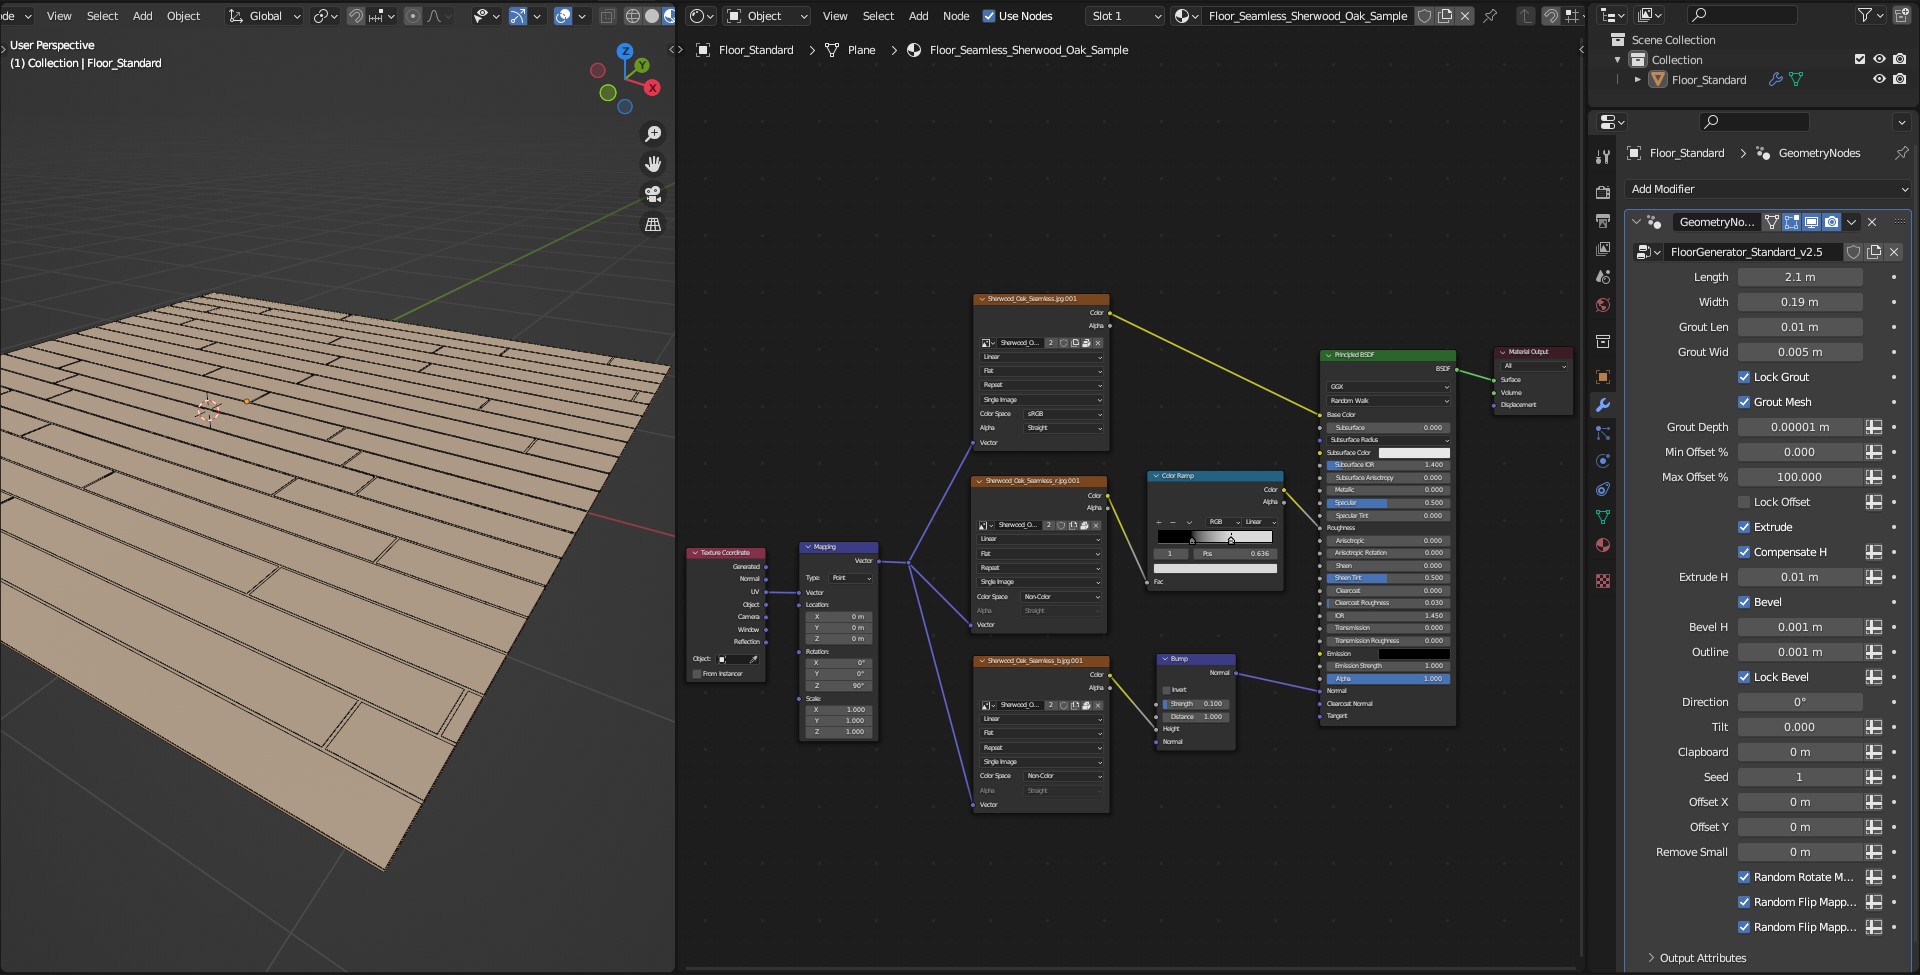
## Step 1
When you apply a common PBR material to the flooring it will be displayed as a solid color. Let's fix that in the next step. (Wireframe Overlay is visible)
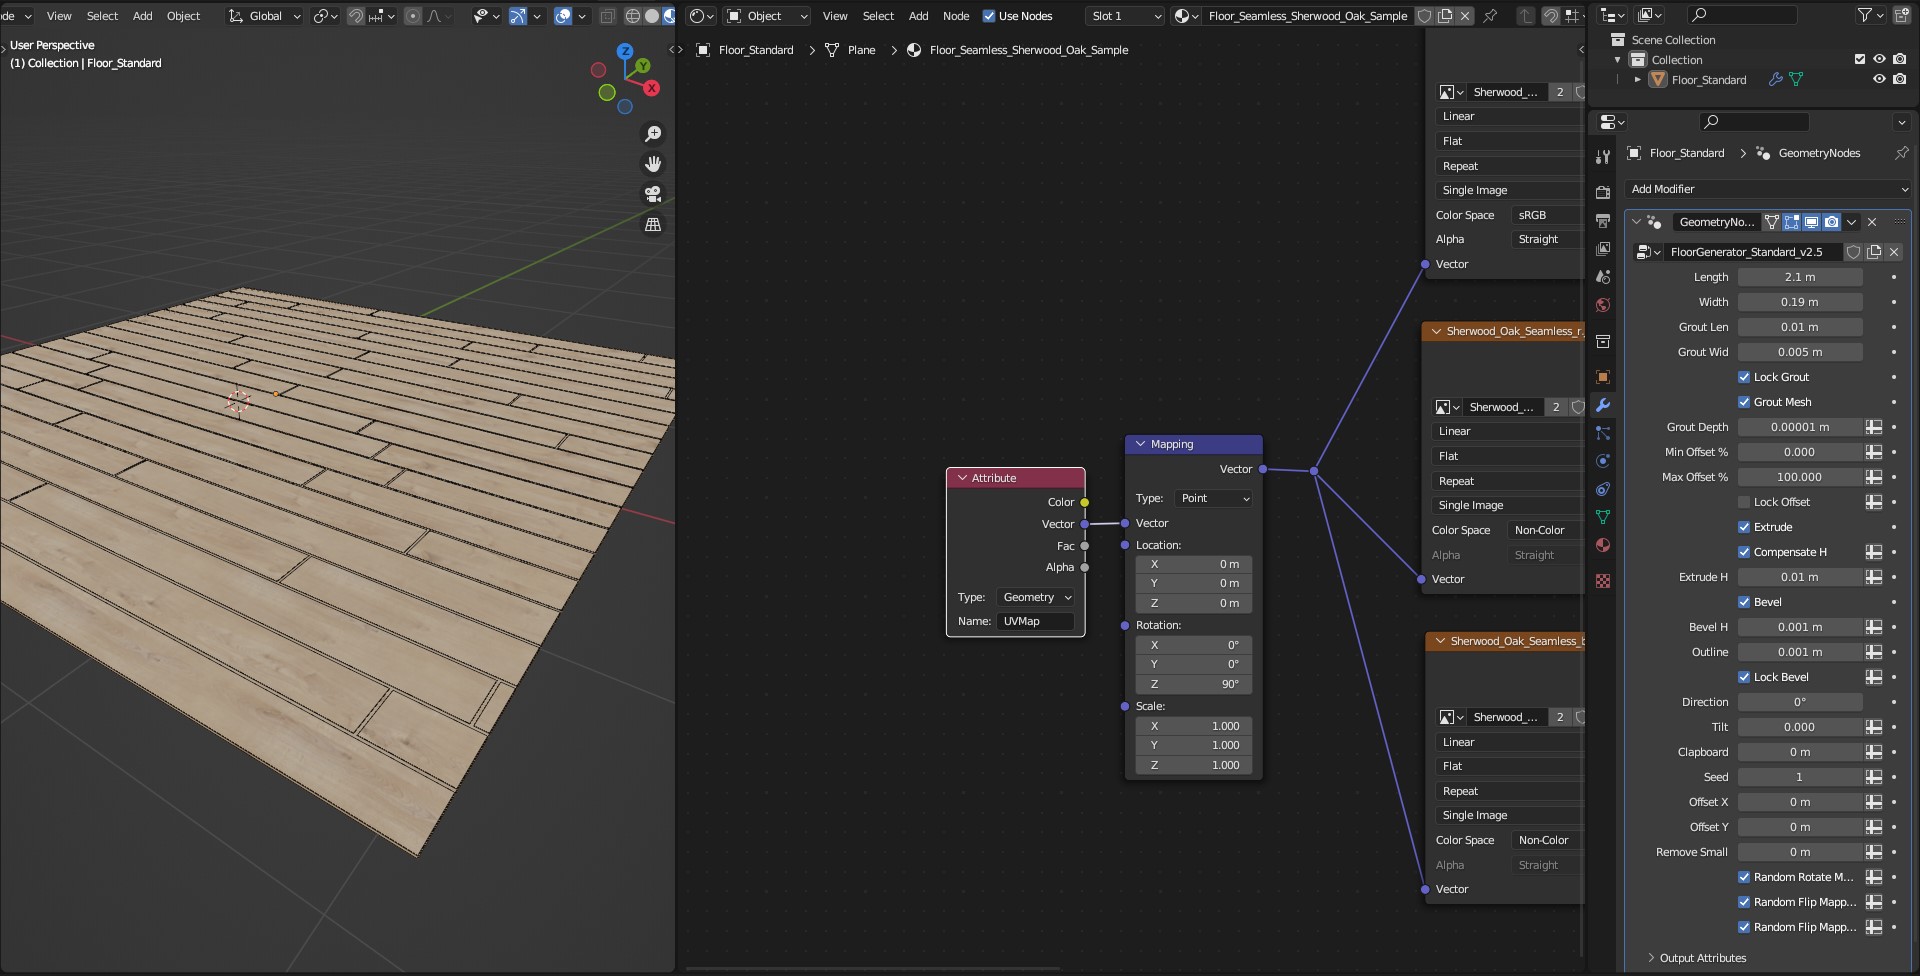
## Step 2
1. Delete *Texture Coordinate* Node.
2. Add *Attribute* Node.
3. Write "UVMap\_SL" in the *Attribute Name*.
It's done! You can already see how texture is distributed on the flooring.
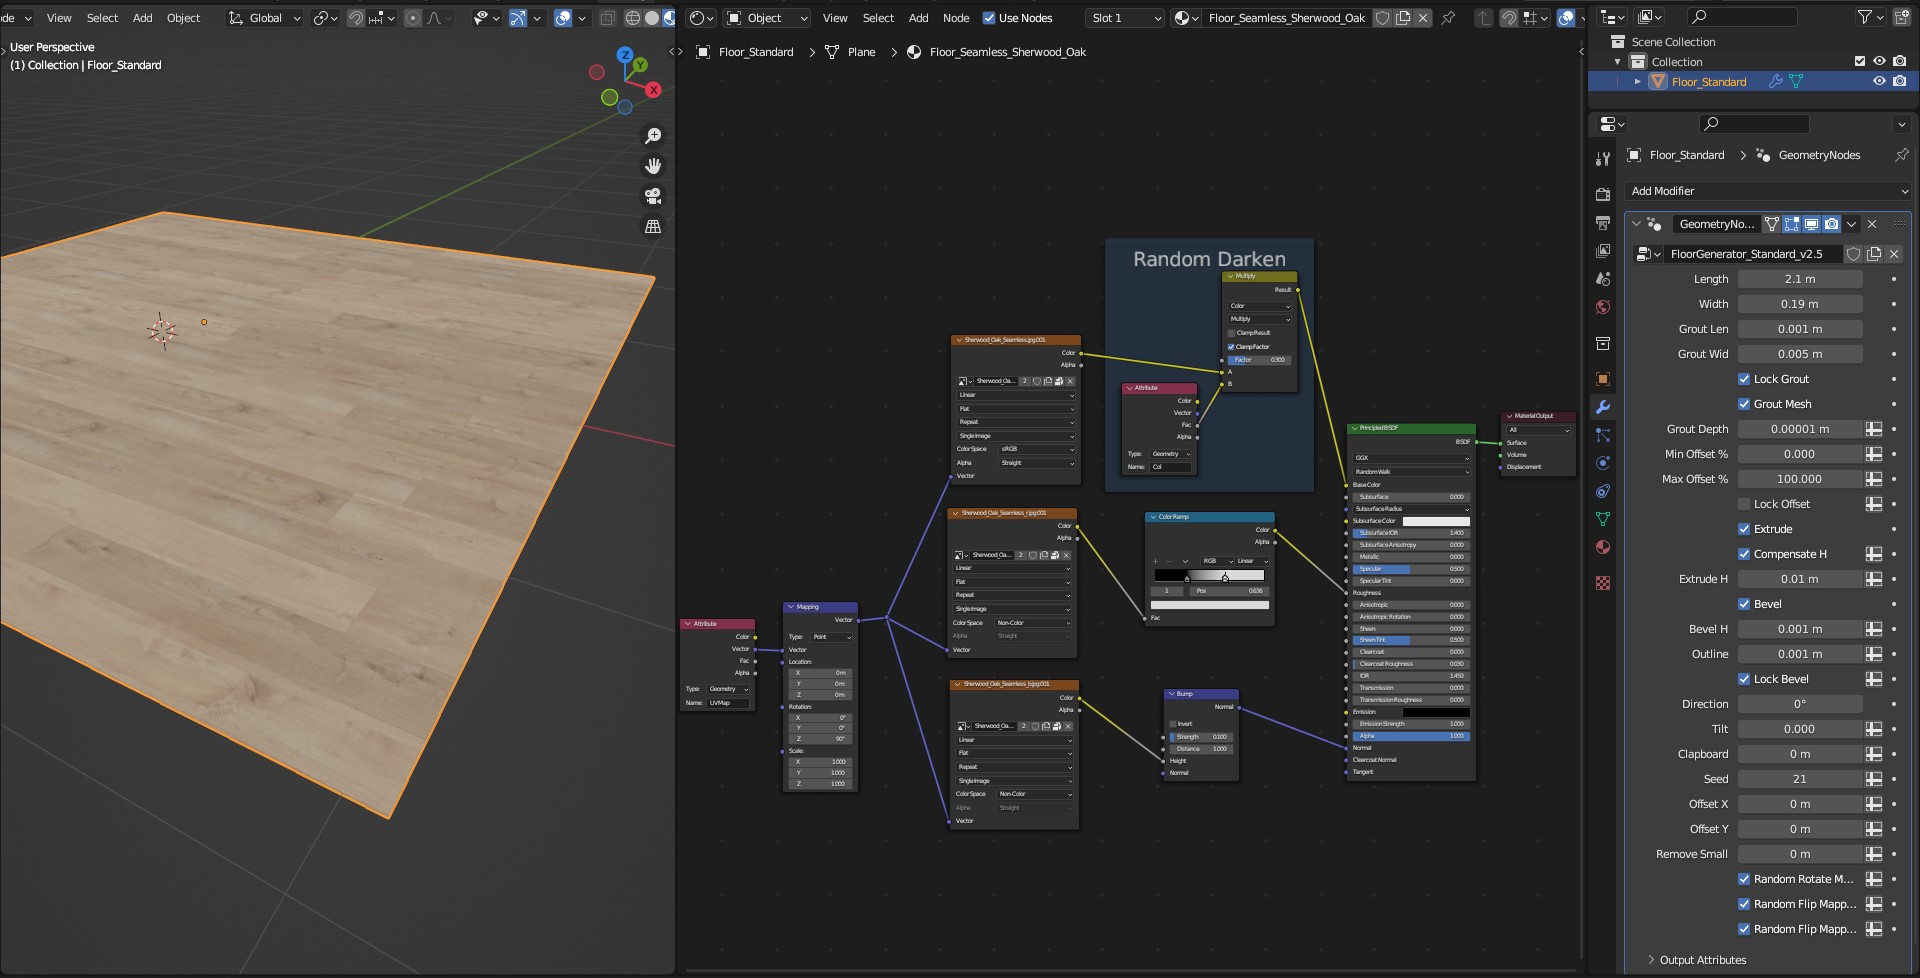
## Step 3
Additionally you can use *"Col" Attribute* to ramdomize boards mixing different values of color, brightness, saturation etc. In this example boards are randomly darkened.
## Step 4
Set [Grout Material](https://nodecrafted.gitbook.io/floor-generator-3.0-manual/sections/materials/grout-material).